Actual color may vary from on-screen representation.
STEP 1: CHOOSE A PAINT
If you’re having trouble choosing a color, check out our color selection how-to, or speak to one of our color experts online or at your local retailer.

STEP 2: REMOVE HARDWARE, DOORS, AND DRAWERS
Next, you’ll want to remove all the hardware, doors and drawers.
STEP 3: WIPE, SAND, AND WIPE AGAIN
With a damp cloth, wipe off any dust or debris. Then, gently sand to help paint adhere to the surface. Once you’re done sanding, give it one more wipedown.

STEP 4: TIME TO PAINT
Now you’re ready to paint. For kitchen and bathroom cabinets, start by taping off the countertops and cutting in. For more details on cutting in, see our interior painting basics how-to or expert tips how-to.
After cutting in, you can start rolling the side panels and the rest of the frame. Use smooth, even strokes in the direction of the grain.
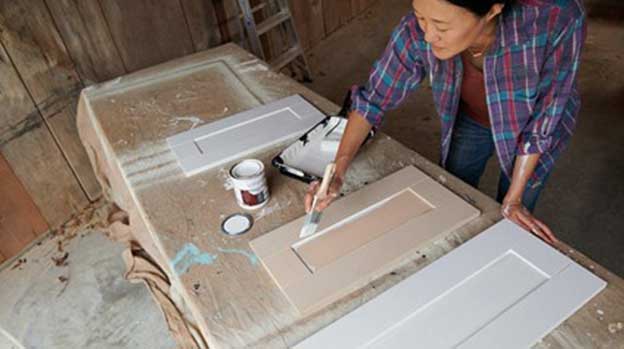
Leave the vanity to dry, and move on to painting the doors. You can use a brush or a sprayer if you own one – spraying will generally give you a smoother coat in less time.
TECHNIQUE TIPS
For more detailed sections of a cabinet, technique can be really important, so here are some tips to help:
- Use a smaller brush for more precise control.
- Hold the brush near the base of the handle when painting.
- Paint with just enough pressure to bend the bristles slightly – don’t push too hard.
- Roll the flat surfaces for a smooth finish.
- Paint with the grain for the doors and drawers, and be sure to lay them on a flat surface to help prevent drips.
Now that the vanity is drying, we can move over to the garage to paint the doors. You can use a brush or a sprayer if you own one. In this case we opted for a sprayer, as the paint will go on more smoothly in half the time!
STEP 5: TIME TO DRY
It can take at least two hours for your paint to dry, so give it time and don’t rush.
STEP 6: REPLACE DOORS, DRAWERS AND HARDWARE
Once everything is completely dry, you’re ready to replace the doors, drawers, and hardware.


