Actual color may vary from on-screen representation.
Safety Warning:
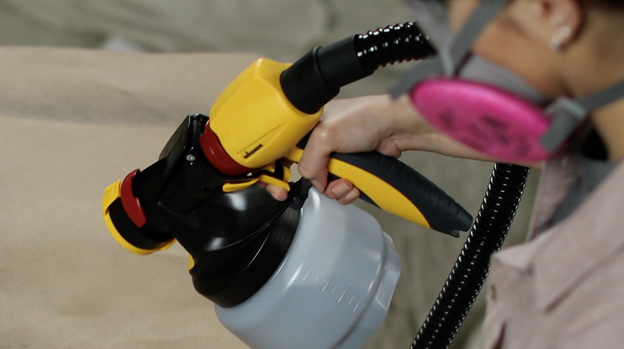
Before you do any spraying, be sure you are working in a well-ventilated area. Always wear your goggles and respirator mask. Refer to the manufacturer’s safety recommendations when spraying.

STEP 2: PICK YOUR SPRAYER
There are three common types of sprayers:
- Airless
- High Volume Low Pressure (HVLP)
- Pneumatic
For a project like this, we recommend using an HVLP sprayer.

STEP 3: PRACTICE
Once you get your sprayer, you’ll want to perform a test run. Use a large piece of scrap cardboard to practice on and experiment spraying at various distances and speeds.
The closer you are, the narrower the spray, and heavier the coat. From further away, the spray will be wider and thinner. The goal is to apply a uniform look with an even coat.
STEP 4: PREP
The key to any project is in the preparation. For the vanity, remove all hardware, doors, and drawers. Then, cover all wall and floor surfaces. Next, clean away any debris and begin lightly sanding all surfaces. Give it one last wipe and tape all of the edges. You’ll start by spraying the doors and drawers first, then moving on to brushing and rolling the front and sides of the vanity.

STEP 5: APPLY PRIMER AND SPRAY AWAY
Prime your piece and then add some color. Spray from top to bottom from one side to the next, making sure all nooks and crannies are covered. Apply these same steps to the doors and drawers. This part should go fairly quickly – but remember to use smooth, constant movements.

STEP 6: BRUSH
While the doors are drying, finish brushing and rolling the vanity base. Let everything dry for at least two hours before adding another coat to both the base and the doors/drawers.
STEP 7: REASSEMBLE
Once everything is completely dry, you can reattach the hardware and doors, and reinsert the drawers.


